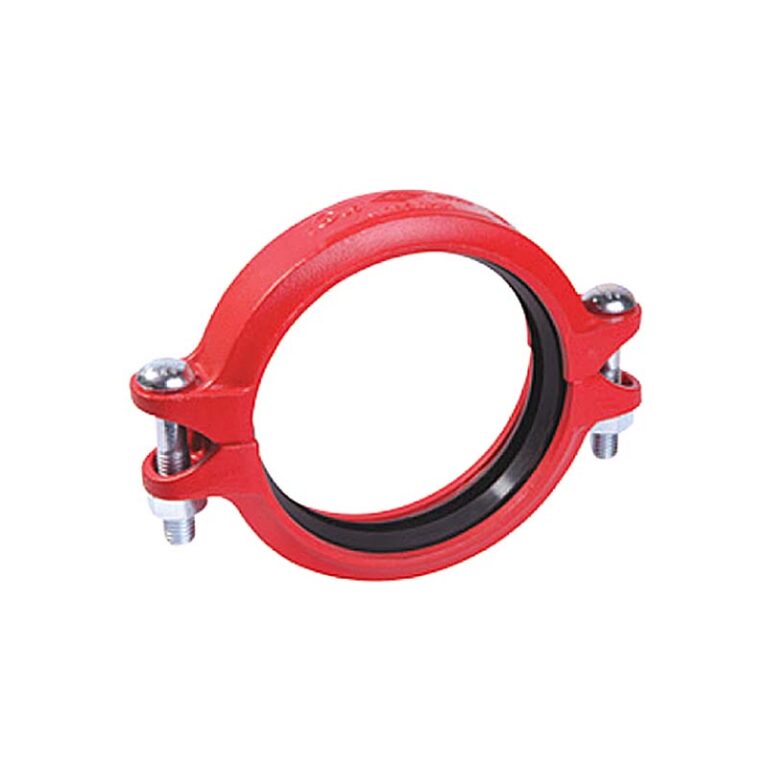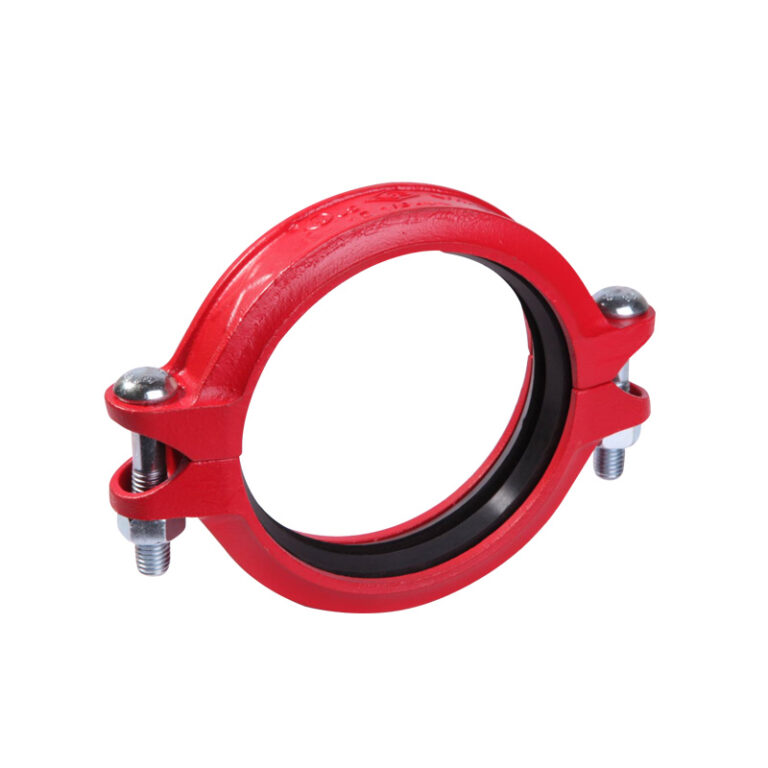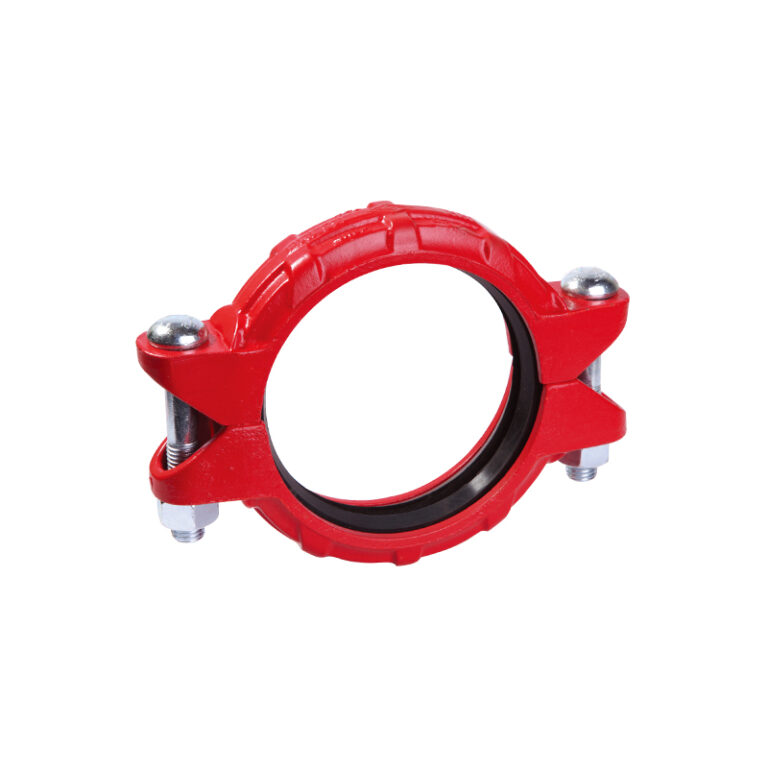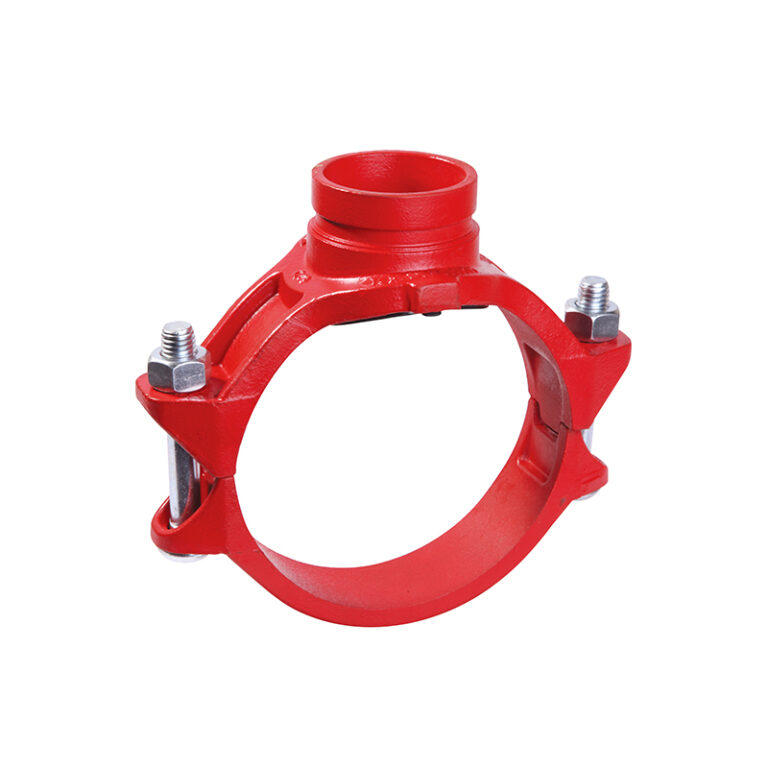
Grooved joints are fast and reliable, but most of their failures come from installation, not the product. These are ten mistakes that recur on site and show up in the hydrostatic test or after commissioning, with how to prevent each. For the basics see the complete guide to grooved systems.
Key points
- Half the mistakes happen before assembly: wrong outside diameter, incorrect groove, dirty end.
- The other half during assembly: a dry or misplaced gasket and uneven tightening.
- A visual check of every joint before the test catches most of them.
1. Choosing the coupling by nominal size only
The same nominal size can have more than one outside diameter. Order the coupling by the pipe’s actual outside diameter.
2. A groove outside the manufacturer’s dimensions
A shallow groove does not hold the key; a deep one weakens the wall. Gauge the groove depth, width and distance from the end.
3. A dirty pipe end or one with burrs
The gasket seats on the pipe surface between the end and the groove; rust, weld bead or burrs stop it sealing.
4. An unlubricated gasket
A dry gasket rolls or is pinched between the housing halves. Use the lubricant approved by the manufacturer, not oil or petroleum grease.
5. The wrong gasket grade for the service
The gasket for water and fire service (EPDM) differs from one for oils. Check the grade in the model table.
6. The gasket entering the groove
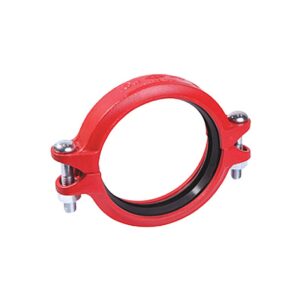
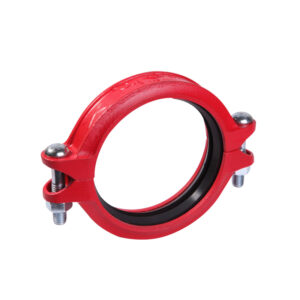
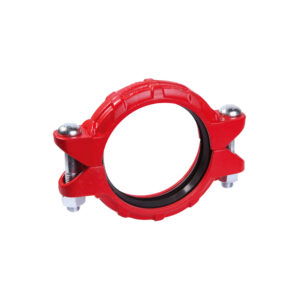
The gasket must be centred over the gap without entering either groove. If it does, the housing will not seat.
7. Fully tightening one nut first
Tightening one nut before the other tilts the housing and lifts its key out of the groove. Tighten alternately until the pads meet.
8. Leaving a gap between the housing pads
On couplings designed for pad-to-pad closure, any gap means the joint is incomplete. Inspect every joint visually.
9. Flexible couplings without enough supports
A flexible coupling allows movement; without supports and restraint at changes of direction the line moves under pressure.
10. Mixing models and manufacturers
The approval covers the coupling with the groove and fittings per its maker’s instructions. Do not mix one maker’s gasket with another’s housing.
Warning
If a joint fails the test, take it apart and inspect the groove, gasket and pipe end. Tightening the bolts further rarely fixes it and can crack the housing.
Checklist before the test
- The key sits in the groove on both sides of every joint.
- The housing pads meet, or as the model instructions specify.
- All bolts and nuts are present and tight.
- Supports are installed before the line is filled.
Frequently asked questions
Do I need a torque wrench for the bolts?
Follow the model instructions. Many couplings only need the pads to meet; some specify a torque.
Can a joint be made with water in the pipe?
No. The line must be empty and clean during assembly.
How often can a coupling be taken apart and refitted?
The housing can usually be reused if undamaged; a new gasket is best on every refit.
References
- ASTM F1476 — Performance of Gasketed Mechanical Couplings for Use in Piping Applications.
- AWWA C606 — Grooved and Shouldered Joints.
- NFPA 13 — Standard for the Installation of Sprinkler Systems.
General practice; each model’s manufacturer instructions are the reference.
Part of a complete guide
This article is part of The Complete Guide to Grooved Piping Systems: How They Work, Selection, Installation and Inspection.